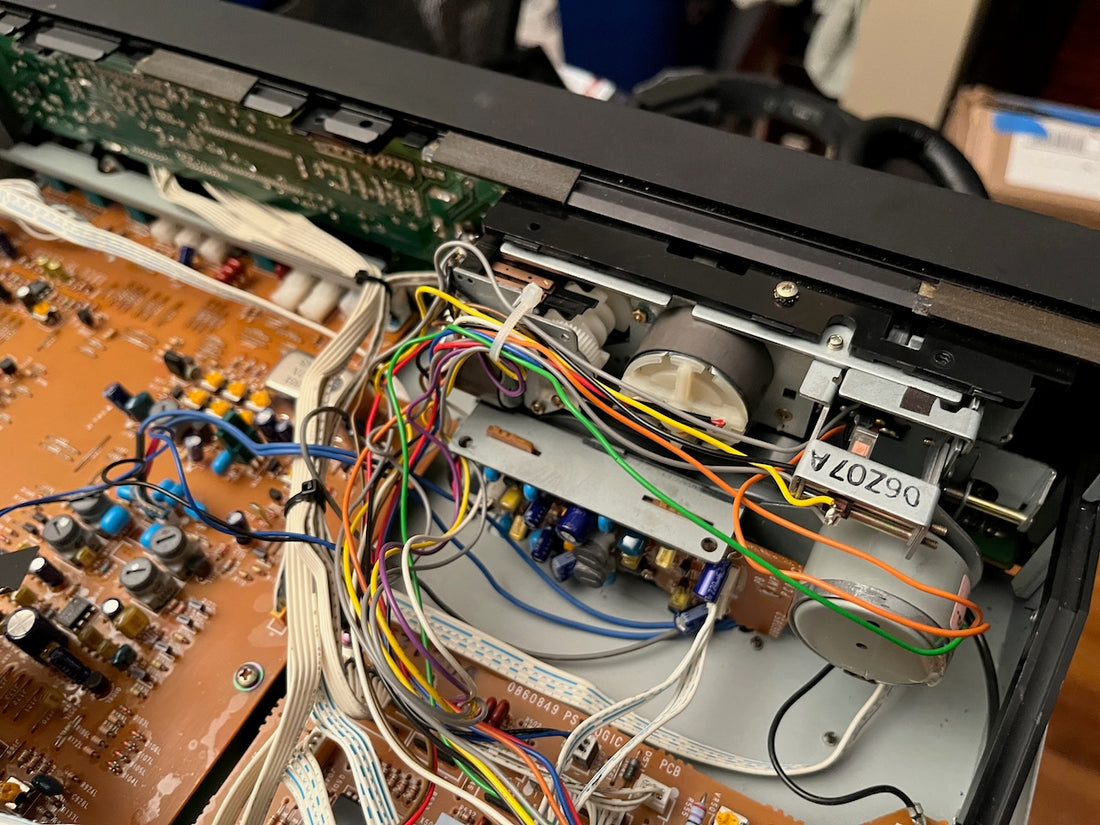
Replacing the Reel Motor in a Nakamichi Cassette Deck 1
Share
Hi All,
I just repaired a Nakamichi Cassette Deck 1 and would like to summarize all the steps for Reel Motor replacement.
1. Identify the version of the deck you have, because if the reel motor has a gear idler (vs. rubber idler), you will need a longer shaft for the motor: Mabuchi RF-500TB-12560 Long Shaft version.
2. Carefully remove the old motor, taking photos of the gear, spring and washer positioning on the shaft.
3. Remove all items from old motor, including the motor shield, and install on the new motor.
4. I didn't remove the ceramic cap attached to the older motor, instead opting to install a new 100nF ceramic cap on the new motor.
5. Check the polarity of the new motor. It may be marked incorrectly for your application. For Nakamichi decks, if the positive and negative terminals are wired correctly, the motor will spin counterclockwise.
6. Install a wire lead to the terminals, along with the ceramic cap. This will help you attach the motor to the existing wiring harness much easier when reinstalling.
7. Test the motor with a 4 to 5v current to confirm correct direction of spin, and also figure out which way is UP for the motor mount. Listen to the motor to hear which direction of install is quieter. The new Mabuchi motor (or clone) will can only be installed one of two ways.
8. Install the motor in the deck transport system. Reinstall all other parts of the transport, being mindful of how wires are routed.
9. Test the system - you don't need a tape in the deck to try play and fast forward. Leave the door off and try using your finger to slow down the take up reel. Is there a reasonable amount of torque?
10. Test with a tape and note playback.
Old Motor


Hope this helps!
Snehal
RewindAnalog.com
